
Plant Tissue Culture: Explant Initiation and Sterilisation 101
Darklight details her personal technique for plant cloning. First published in EGA Conference Journal 5, December 2022.

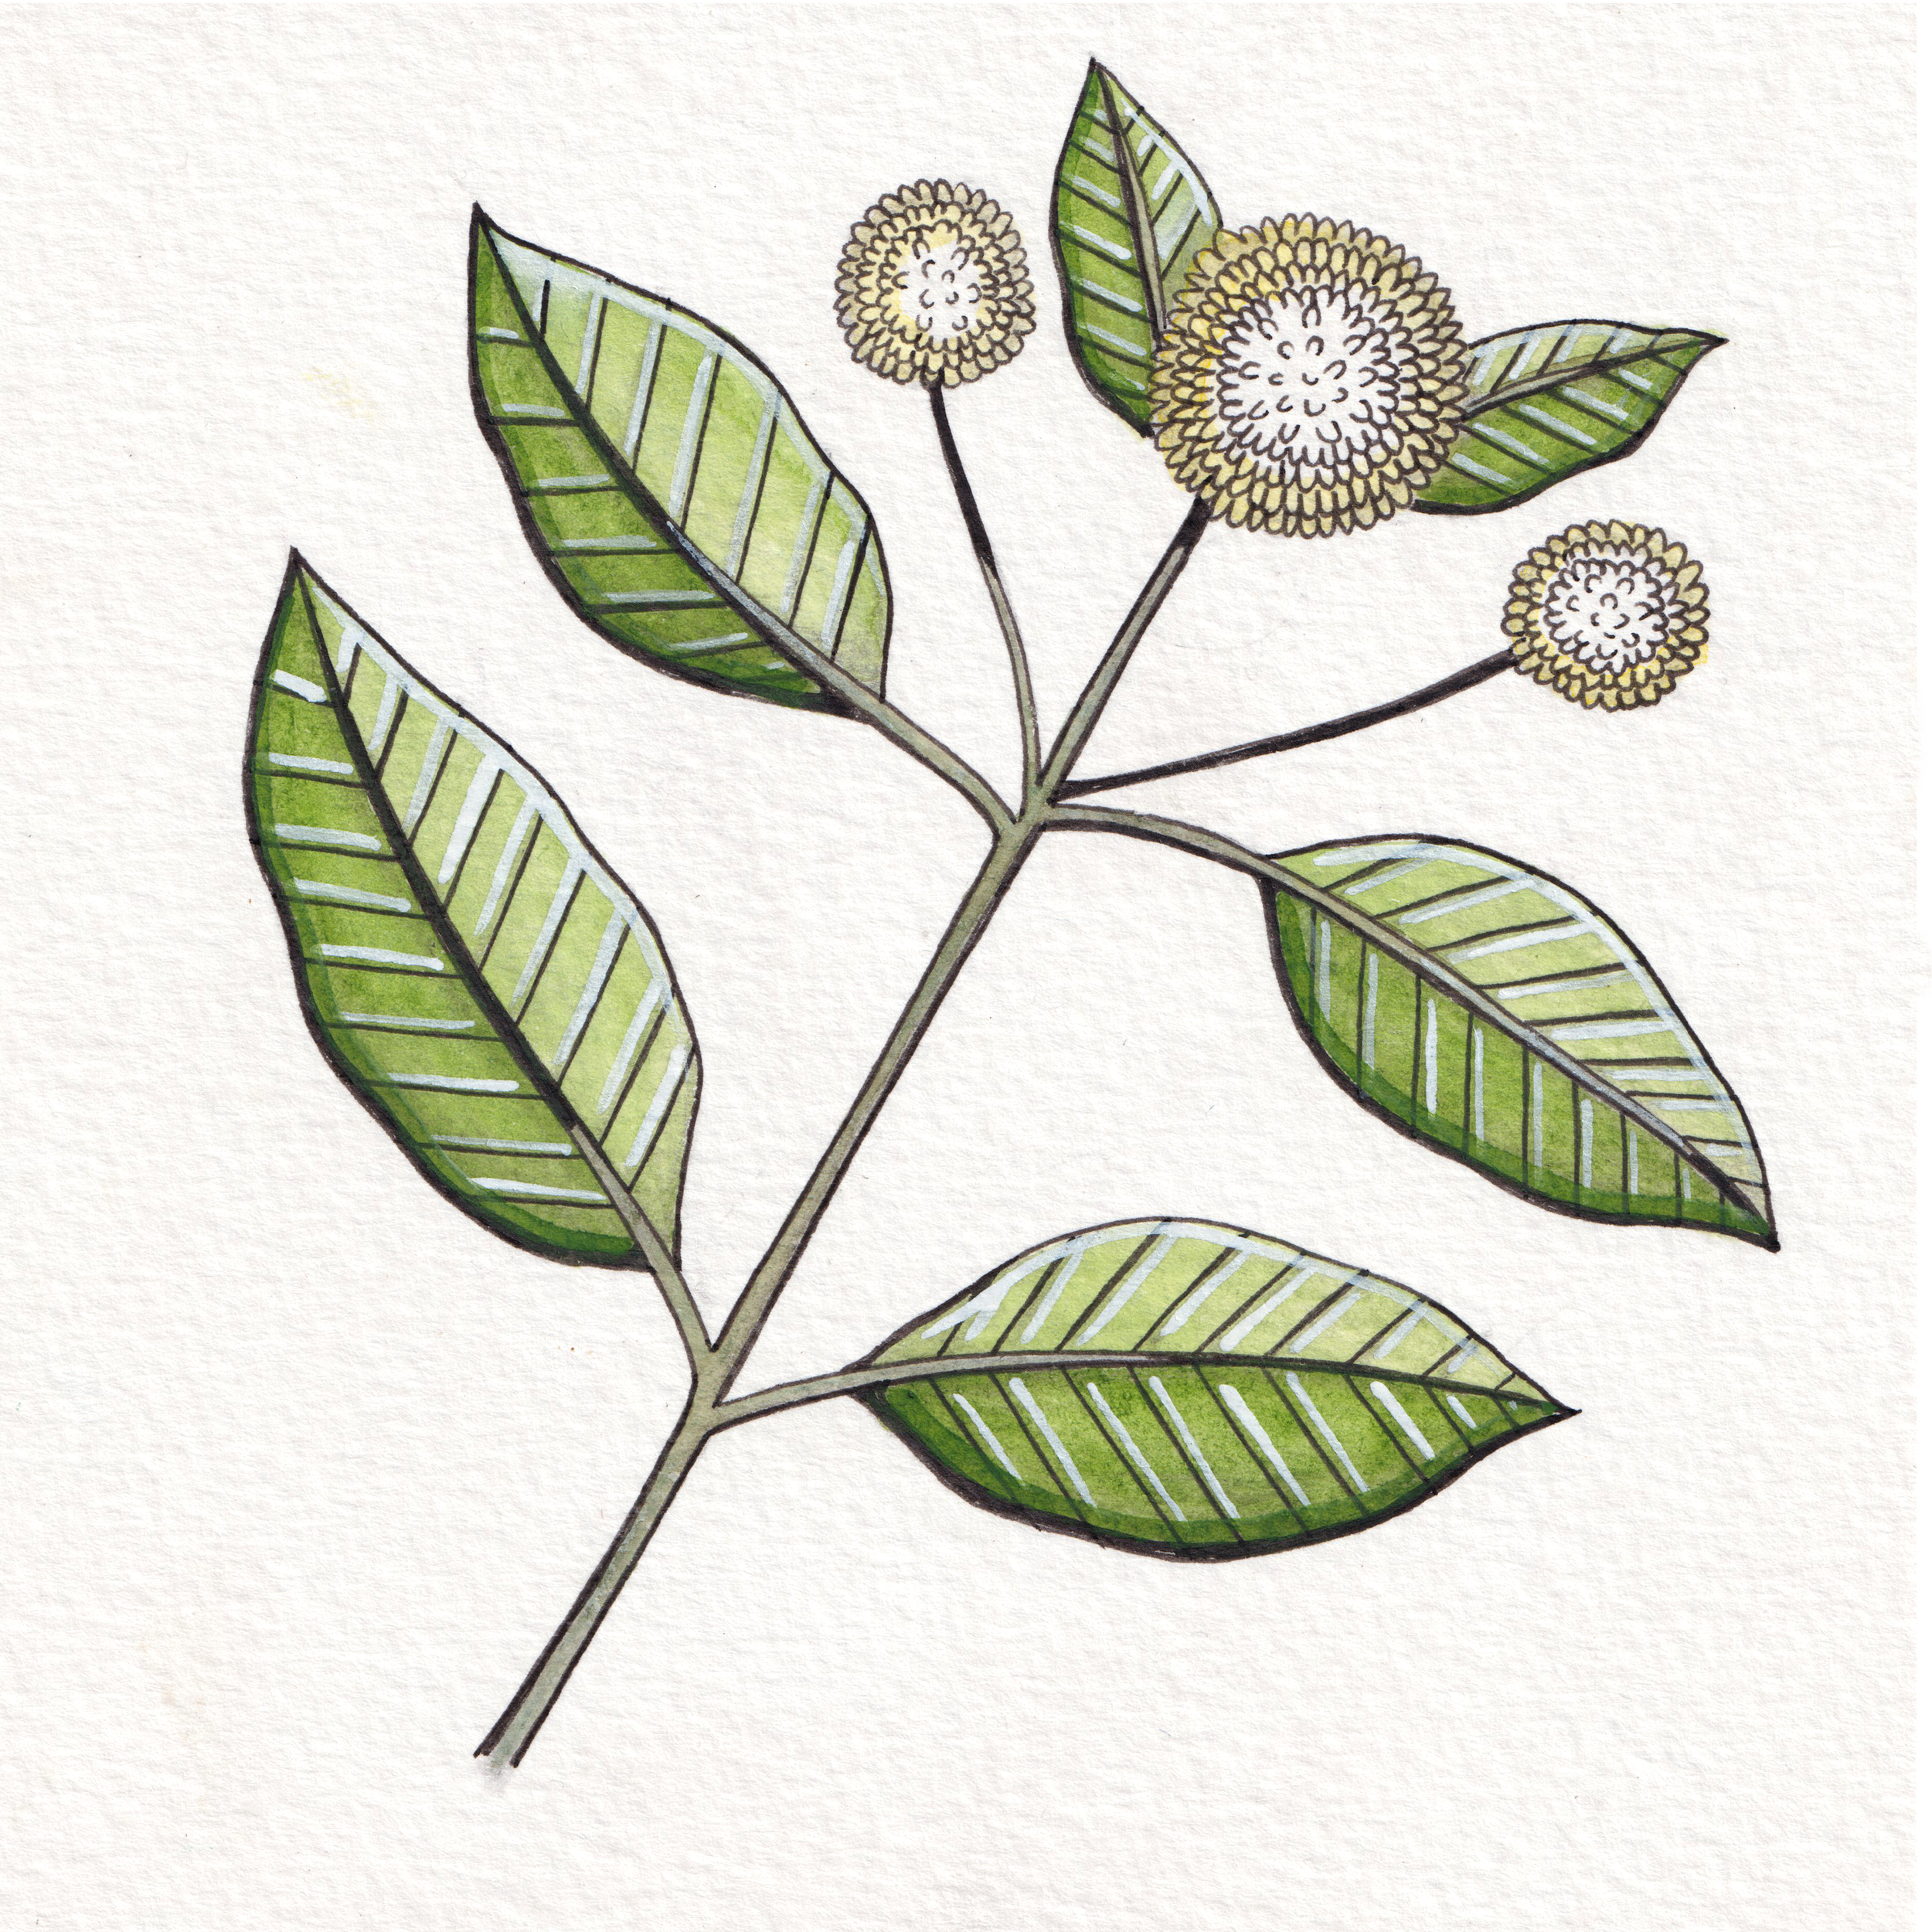
Turnerna diffusa in liquid culture. Propagated and photographed by Darklight.
Read this guide a couple of weeks before you try it. Ponder it. Then read it again a few more times. Keep good notes. Do the math - preferably during the planning phase.
The techniques described here are for plant tissue culture of vegetative material - nodes, stems, leaves - which are being initiated into culture from nursery or field plants.
As a beginner, work with a plant you have a lot of, don’t mind killing, that sterilises easily (isn’t hairy, woody, waxy, densely branched, and doesn’t have lumpy bark). There is no shame in starting simple. If you’re still learning a technique, don’t use a rare, difficult, or valuable plant unless you’re prepared to fail and to set back the growth of your much loved source plant by over-pruning.
You need enough starter material for statistical significance and to make it worth your while to set up. Initiating new tissue culture stock from donor plant material can have a high attrition rate. 70% contamination from nursery or outdoor stock is not unusual. 98% contamination in some species is normal. Other species are hard to disinfect and just plain disgusting. Only take 30% of the best plant material for any single experiment. Leaving enough material for next time in case of mistakes or protocol changes is important. It is entirely normal to need to re-run an experiment.
Anything you cut off your parent plant to stick into culture media is called an explant. A cutting becomes an explant the minute you separate it from the donor plant. Your explant could be a leaf, a single node, an areole, an embryo, a meristem, etc. Your explant can continue to be called an explant - no matter what it looks like, no matter what you turn it into - until it grows up and is strong enough to live outside the lab on its own. “Explant” is a broad, umbrella term that lets us technically differentiate between what’s in the lab and what’s outside in the nursery.
I don’t like to start a tissue culture project with anything less than 10 successful, clean explants. When initiating a new species to culture I make sure I sterilise about 25 explants, each in its own jar containing 20ml media (500ml media total). Housing a single explant in each jar prevents contaminated plants from infecting uncontaminated ones.
I make sure I have about 80 viable plant parts pre-treated and available for excision prior to starting work on a new species. It might take one tree or ten small potted plants to get that number. I take 25 explant cuttings to initiate into culture each time, leaving the rest of the parent plant undisturbed in case I need to re-run the experiment. The remaining five plant parts are usually lost because they fell on the ground while I was cutting them. Mistakes always happen!
Success is possible with less starting material, but it’s easier to throw out excess quality material than it is to find more sterile material!
M. speciosa, AKA “Kratom.” Artwork used in the Entheogen Combination Matrix, by IzWoz.
Parent plant stock selection
Careful parent plant stock selection is the best way to ensure success. It’s also a step that’s often ignored in tissue culture.
Your parent plant needs to be in vigorous, active, vegetative growth. It’s possible to put some species into culture when they’re flowering, but for most species, flowering is a time of hormone production that can affect their ability to readjust to culture conditions. When plants
are flowering, they’re trying to have sex. Often, like us, they resent the intrusion. You can force active vegetative growth out of season, but the easiest success will come if you work with the seasons - you may even be able to force extra new growth if you time things right.
Vigour is an important though scientifically indefinable consideration when selecting plant material for culture. Theoretically, it is possible for a single plant cell to regenerate into an entire functional individual (totipotency). In practice, except for a few well studied species or cultivars, early success is unlikely, even if using protocols from peer reviewed publications. Pre-preparation, excision, sterilisation and culture initiation are incredibly stressful to plant material, even under optimal conditions. Plants introduced to culture will take time to adjust to their new conditions and routine.
Healthy, actively growing plants are vigorous and likely to harbour fewer pathogens that could inhibit the plant culture process.
“The best time to excise plant material for culture is first thing in the morning when the sun is up, and any dew is freshly dried or drying off.”
How much to cut from the parent plant?
If you cut too much explant material for culture you can overwhelm the sterilising solution. A larger amount of material will contain more pathogens than the sterilising chemicals have to kill. A smaller amount of explant material could be traumatised and confused just by the act of cutting and handling or by the harsh sterilising solution. For any new species you haven’t worked on before, determine in advance how much plant material you would consider a viable culture explant and add another 5-10mm to that figure at each cut surface.
After sterilisation, cut the explant to the size you like. During sterilisation you’ll need the extra biomass as a buffer to drink up the sterilising solution but also to make sure the explant you want to culture isn’t full of residual sterilising fluid. Explant size and form can differ between species, cultivars, and culture types. If you’re uncertain, do a web search to see what types and sizes of explants others have used for their work with the same or a similar species. For some species with no culture or propagation history, this estimation is a plain old guess. Guessing is always valid as long as you keep good notes. Further words supporting your barefaced guess and outlining why you were thinking like that, even though it sounded illogical at the time in the morning, will be incredibly helpful later. Especially if you turn out to be right!
The actively growing plant tips (apical or axillary meristems) grow new, cleaner cells faster and usually contain fewer pathogens than the rest of the plant, giving an advantage in culture. This growth usually happens in the mid 2-3 mm of the apice (where the new leaves emerge from - visible only under a microscope in some species). Be wary - cutting finely and forceps
handling can both cause trauma at the cut site.
Explant selection size is thus a balance between having the cleanest part of the plant, having enough and sufficient diversity of vigorous plant material to support fresh growth, whatever contaminants the plant natively contains, the culture regime you have planned and any physical damage you need to do to the plant tissue to obtain and sterilise and re-cut that portion.
The best time to excise plant material for culture is first thing in the morning when the sun is up, and any dew is freshly dried or drying off.
I often pretreat my exvitro parent stock 14-28 days prior to taking explants:
Place potted plants in an appropriately lit, well ventilated area. Light and good airflow
reduce contamination.Force new growth - prune and/or fertilise so that fresh new tips are available as donor
material.Water at soil level only where possible. Overhead watering can encourage contaminants
and the bugs that carry contaminants.Application of systemic fungicide (please pre-test this to make sure your fungicide is
tolerated for your species) at 7 days prior to starting culture work can be useful if fungus
is an anticipated issue.

Liquid culture in action - a workshop at an EGA conference.
When it’s finally time to cut
Read your workflow list and have all equipment prepared. Only prepare sterilising solutions on the day they’re to be used.
On a fine, sunny morning:
Put some clean water in a clean container.
Spray your scissors with 70% ETOH (70% methylated spirits is fine).
Cut your parent stock slightly longer than you want them in culture. Place cut ends into water immediately (don’t take more than 30% of your available donor material).
Head to the lab. Put the flow hood on and set up for work.
Optional. 30 – 60 seconds in sonicator (aka jewellery cleaner, rtm [Read The Manual]) in water with a drop of unscented detergent. Sonication causes some of the bigger contaminants to dislodge, while the unscented detergent helps prevent air bubbles and
penetrates any waxy or hairy layers. Some plants do well with sonication, but some get punched full of holes which can wreck the culture process. Pre-checking this is advised.Drain aseptically (this can be done outside the flow hood, in a clean place).
30 – 60 seconds in 70% ETOH with a drop of unscented detergent. Swirl gently.
Drain aseptically.
1-10 minutes in a sealed container of sterilising solution (1 tablet Milton Baby Bottle Sterilising tablet per 100ml water + a drop of unscented detergent). Swirl gently.
Move your plant material/ solution container to the flow hood.
Everything from here on in is sterile work and is to be done aseptically in a flow hood or still air box.
Drain the container, place sterile material on sterile paper towel, and air dry in the flow hood before transferring to container/ petri dish for further excision and culture initiation.
The beauty of Milton baby bottle sterilising tablets is:
You can tell if the active ingredient in the Milton tablets has expired because the wrapper is blown up. Bleach expires too - it has an expiry date on it that hardly anyone notices until it stops working.
It’s harder to make dispensing errors using the standard Milton dilution (1 tablet per 100 ml water). Bleach comes in a range of different concentrations that you will need to adjust for when preparing your work. Bleach final concentration descriptions in some
publications are also unclear.Milton tablets are way less harsh on most species than bleach - less chlorosis, less secondary wounding, etc. If you’re not sure which is best, run a small side-by-side dry run experiment for bleach versus Milton tablets on a day you’re not initiating cultures,
and put the sterilised explants into their own small container of water. Observe after 20 minutes to see which chemical causes less damage.
All sterilising chemicals should be removed entirely from the explant after sterilisation to ensure they don’t react with any of the culture media ingredients, gas your explant when you seal the culture container or pool around the explant base and become a potential home for contaminants. Milton tablet activity is inactivated quickly via air drying in the flow hood. Bleach requires rinsing in two changes of sterile water to inactivate- which is more work, requires you to have cooled sterile water ready, and is an extra step that could potentially introduce contamination.
Both Milton baby bottle sterilising tablets and standard bleach are relatively safe for human exposure. However, they’re not *completely* safe. You don’t want them in your eyes, probably don’t want them on your clothes, and you really don’t want other mammals to
accidentally ingest them. Please observe all precautions and dispose of residue safely and immediately and with regard for your environment.
Here is the MSDS for the Milton tablets I use that are sold in Australia.
Here is the MSDS for two different types of bleach I have used that are sold in Australia.
Get used to reading MSDS. It really is all fun and games until you kill a pond full of frogs. Chemical formulations, brand names, and known hazards can change over time or between countries. A current MSDS for the chemicals you’re using now will help you not die. You’re welcome.
“It really is all fun and games until you kill a pond full of frogs.”
Deciding how long to sterilise your explant material in harsh chemicals is based on previous experience with the contaminants in the facility, the parent plant location, and sterilising this species or a related species, published protocols for related species, community advice and/or guesswork. Use a timer when sterilising explants. Don’t estimate. Flow hood time expands exponentially and has no relation to earth time.
Ideally, you will minimise explant exposure to extraneous chemicals - it stresses them. Sterilising time is a trade-off between either poisoning your plant material during disinfestation or letting it poison itself because you failed to kill all the nasty pathogens. You aim for the middle ground. The consequences of failure are the reason we leave enough material behind on the plant in case you need to re-run the work (you did this, right?).
Prior to inserting your plant material into the culture medium, you will still need to re-cut any already cut ends, dead or necrotic tissue, etc, to make sure any chlorine the donor material took up during sterilisation isn’t left on the explant. Dead or dying material on culture stock just confuses the explant and is a potential site for secondary contamination via wounding. Cut just after or above where the white bits are- those are the most affected by the steriliants, and the white bits left over after sterilisation are termed chlorotic.
Leaving some petiole (leaf stem) on any sterile cut stems can be handy, though - they make great handles to avoid crushing stems with forceps during transfers and can help you work out which way is up when you’re working in a crowded situation.
I suggest beginners use PPM (Plant Preservative Mixture) in your tissue culture media for at least your first few runs. It’s a biostat - PPM disrupts key enzymes in the energy cycles of fungus and bacteria, stopping or retarding their growth sufficiently to allow your traumatised material to re-establish vigour and look after its own immune requirements.
PPM is viciously expensive to purchase but works out at about AUD$3-$5 per litre of media. Most species tolerate PPM well for axillary/apical culture. PPM can expire during storage, so always check the use-by date. It won’t kill all contaminants - especially if you have dirty parent stock. But PPM will slow contaminants right down and buy you some time.
If your species often harbours pathogens, your culture material has really woody stems, or the publication you are working from suggests extensive contamination issues (e.g., kava, fruit trees, hardwood cabinet timber, etc.) you can benefit from making double or triple the amount of media you need and fully submerging the explant in the media for two to three days, transferring to fresh media on day three. Transfer again on day seven. Remove as much old media as possible when transferring without excessively handling the explant.
You can also reduce contamination risk during culture initiation by lowering the amount of sucrose, other sugars, and carbon sources in your initiation media. Sugar is the food that allows our plant culture to lower its reliance on photosynthesis. Sugar is also crack cocaine for pathogens, which can overgrow, overwhelm or poison the plant material you want to grow. Many pathogens double in number every two to three hours – a much faster rate than freshly cut explant material suffering transplant shock.
Reducing or removing the sugar in your culture initiation media can inhibit contamination at culture induction. Rather than using a standard MS media, where the amount of added sucrose is routinely 30 grams per litre, you might want to initiate your culture into media containing only 10 to 15 grams per litre of sucrose for the first week or two to slow any pathogen growth.
Sugar and carbon source reduction is another trade-off. Consequences can show early, depending on your plant species. Not enough sugar or carbon source and your explant can starve. If your explant material survives and is sterile on that lower amount of media sucrose during establishment, you will probably need to make sure you add a greater amount of sugar or carbon source to the next media once your explants look clean and uncontaminated.
“A Bluetooth temperature logger (or three) is a cheap way to determine whether temperature fluctuations are affecting your culture growth.”
Subculture period
A subculture period is the length of time between fresh media transfers. The average subculture period is two to three weeks between transfers. This time period is only really important for commercial or other time sensitive work, but it’s great if you can reduce your subculture period to this time. It means your media is optimised for your species and desired growth type. You’re fabulous, you’re lucky, the laws of physics adore you, drinks are on me... but right now, we’re experimenting.
In practice, a two to three week subculture period for experimental work is optimistic. Initiating cultures and transferring plants between containers is stressful for them, and most take a few days to recover. Transfer your work to fresh media after it has shown new healthy growth, before the leaves discolour, drop off, or contamination shows. This means checking your explants every day, especially while you’re learning. You need to make judgement calls based on your own observations. Work with the plants you have.
Some of the species I run have a four-week subculture period in summer and a 12-week subculture period in winter. One of my plants has a 16-week subculture period. My facility has temperature fluctuations due to insulation issues and even within the facility, there are known cold and warm spots that I use strategically.
A Bluetooth temperature logger (or three) is a cheap way to determine whether temperature fluctuations are affecting your culture growth. Inkbird Bluetooth temperature and room humidity loggers are commonly used by mushroom growers, these have a phone app interface, and they’re relatively low cost, especially if you can find them on sale or second hand.
Subculture period is determined by species, by the protocol or publication you’re working with, and by environmental conditions such as light, photoperiod, temperature, any temperature fluctuations, container types, etc.
Don’t beat yourself up about subculture periods. If you have live, healthy, sterile plants growing in culture right now and are checking your explants every day, you have the starting material required to finesse any aspect of your work. It doesn’t matter whose explants are
growing the fastest.

It’s not contamination - but this is what thready white fungus looks like. Oyster mushroom mycelium. Image by Tobi Kellner.
Contamination
Knowing detail about contaminations will help you make adjustments to future experiments.
When contamination shows, which it probably will, you need to know:
When contamination first showed
Where contamination first showed
What contamination looks like - slimy is usually bacterial, thready is usually fungus, wrinkly is usually yeast.
Knowing these will help you make any adjustments to future experiments. We need to normalise failure and the need to re-run experiments. Too many people think failure is an endpoint rather than a standard obstacle.
Using only one sterile explant per container means you haven’t risked cross contaminating any remaining sterile material in that jar. Place the contaminated container aside- and before you throw it out, note down your observations. This is important.
Contamination can start to show up between two and 21 days after initiation. Have your tissue culture explant containers somewhere you can check them often - at least daily. Some contaminants are so vigorous you might not be able to work out where they came from if you don’t check them for 24 hours.
Any contamination that shows up on or at, the base of the explant in the first two to five days of initiation indicates a very heavy contamination load and a need to change your sterilisation protocol or increase sterilisation time. If this happens to more than half your explants within the first five days, this is a major issue.
Pathogens that show up on or around the explant base 10 days after initiation or later indicate a lower initial contamination load. At this stage, it’s just a numbers game, and hopefully, you took enough explants from your donor stock that you’ll be left with a few clean, functionally sterile explants. At worst, you have enough healthy material left on your parent plant to start again (You did that, right?).
If plant contamination in all the contaminated jars looks the same (e.g., all are slimy and white), it’s most likely originated from the parent stock. If your contaminants all look different (e.g. some are thready and some are different colours), contamination could have come from the parent plant stock or from incorrectly or incompletely sterilising your tools during work. Check your flow hood and sterilisation techniques.
However, if there are a lot of contaminants of different types randomly dotting the surface of your media as well as hanging off your explant, it’s probably not the plant at all, and you need to work on your technique and/or test your media sterilising protocol and/ or check your flow hood is blowing sterile air at you.
Yeast or golden staph bacteria contamination usually means an operator error. You’re shedding on your work. Yes, you. Glove up. Ethanol is widely available. Ethanol sold as Methylated Spirits even moreso – it’s available at the supermarket FFS. Nah, just kidding. Unless there’s a lot of it, then I’m not kidding.
It is possible to re-sterilise contaminated material and put it back into fresh media, but it rarely works. By the time any contaminants are visible, they’re well entrenched. This is one of the few hard and fast rules in tissue culture.
In this case, and that of any other scientific failure, weep for a while, write up your notes, go back to your parent stock, your source documents, and earlier lab notes, and start again.